All head thing. Today it is all about the handlebar cover, after the speedometer is restored.
Fundamental design decision:
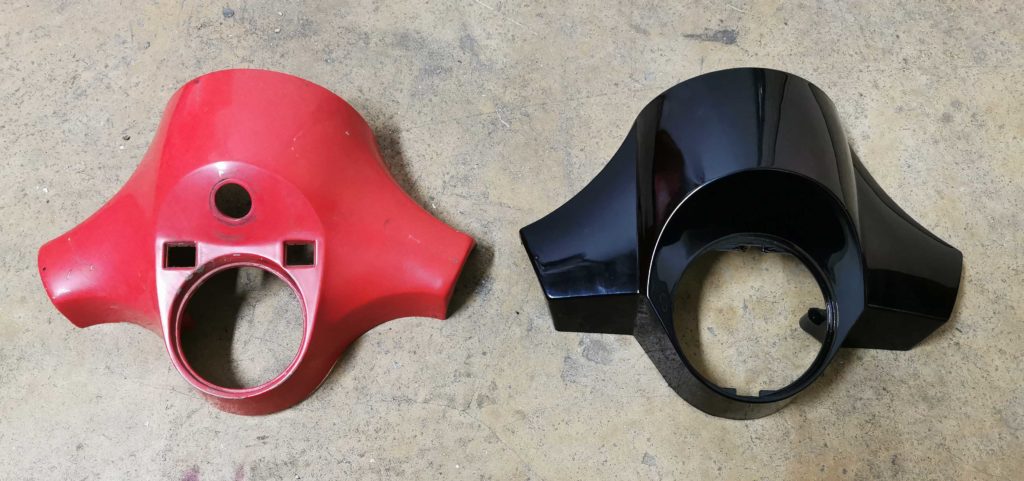
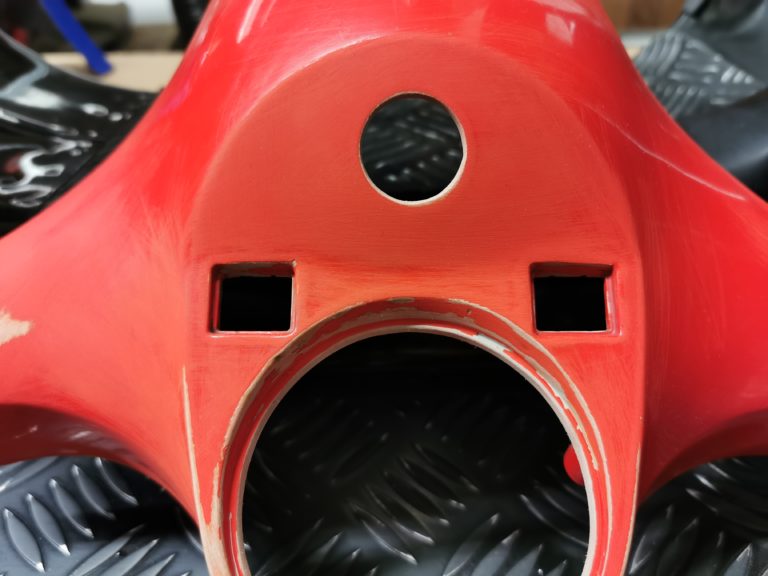
The new black cover or the old red one? The difference from the newer model is easy to spot. The speedometer has become larger and holds the indicator lights and fuel gauge. The ignition switch has moved to the steering column. My thoughts on this: I will keep my speedometer in any case. I have already restored it. I could simply adapt it to the larger radius with a spacer washer and maybe put the cone lights there, but I don’t like the new cover either. The look concern would be but a funny solution. The key, however, not necessarily to expose to the weather and the rest of the key ring not to hang over the speedometer but has what. So I will rebuild the old red cover and paint it. So it will be a Vespa handlebar cover that does not exist. The conversion should be as inconspicuous as possible.
Translated with www.DeepL.com/Translator (free version)
Get down first
2 of 4 screws are to be loosened
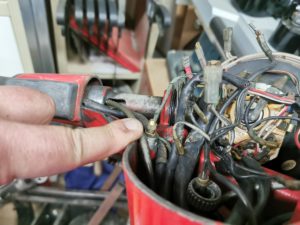
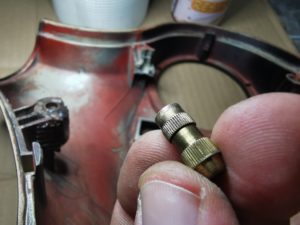
Resistance offered only the speedometer cable
Few space
New Wire harness
is a good idea with the situation
Previous
Next
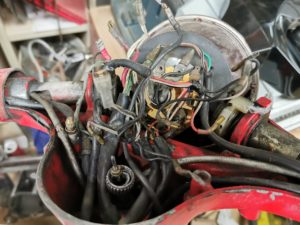
Two of four screws still hold the old cover in place. After they are loosened, you can slowly pull the top part up with some force. Most resistance was the speedometer cable. Then you have a view of the wiring harness. For me the first time to look in here. Normally I would have been annoyed about the condition of the wiring harness. This time the condition leaves me cold. The new wiring harness is already retracted in the new frame.
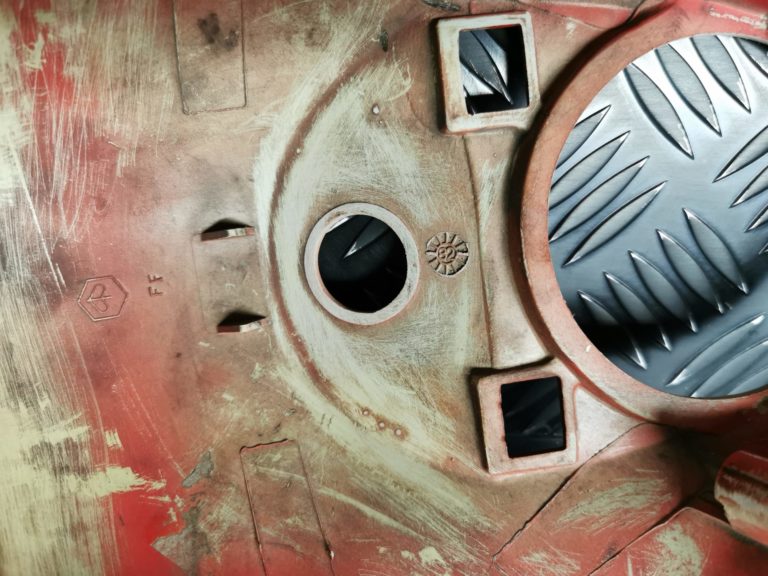
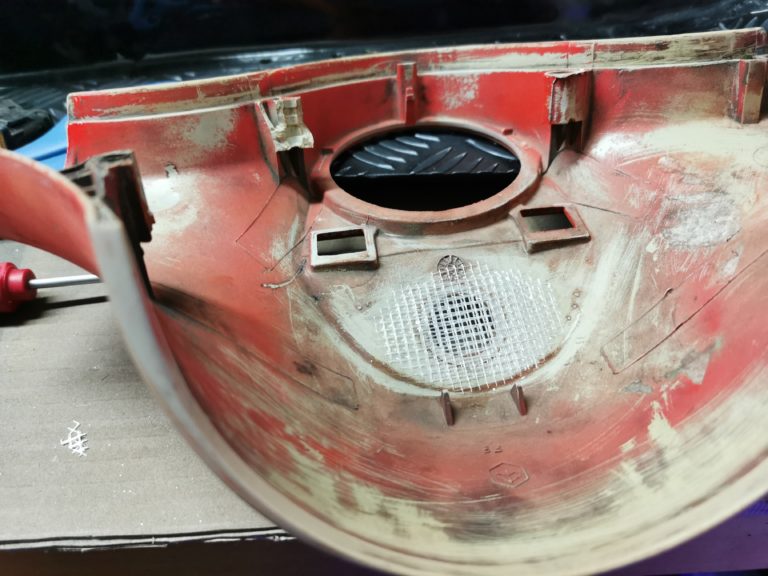
The old lower part is no longer used because I need the new one and its mount for the hydraulic brake.
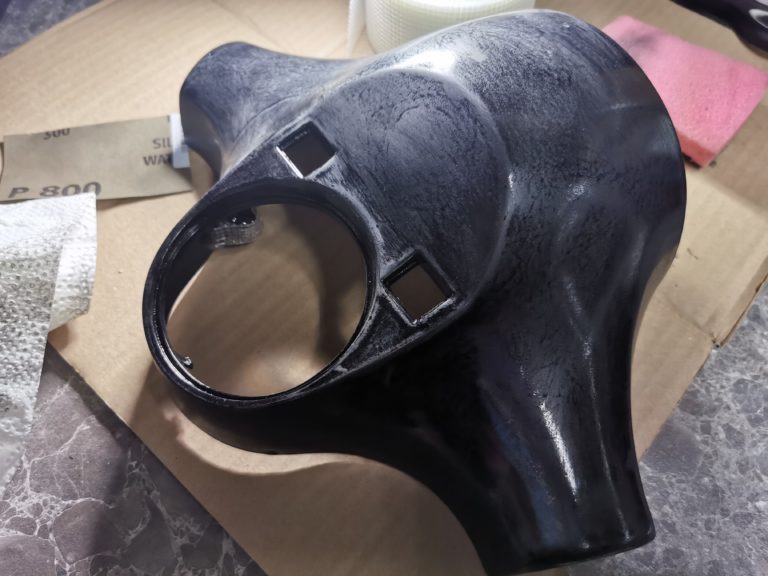
Repair the housing
Previous
Next
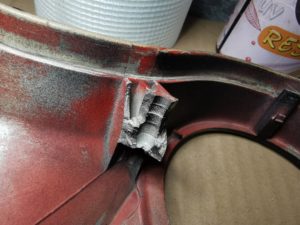
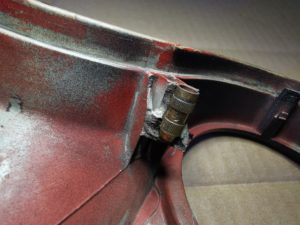
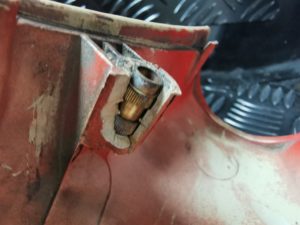
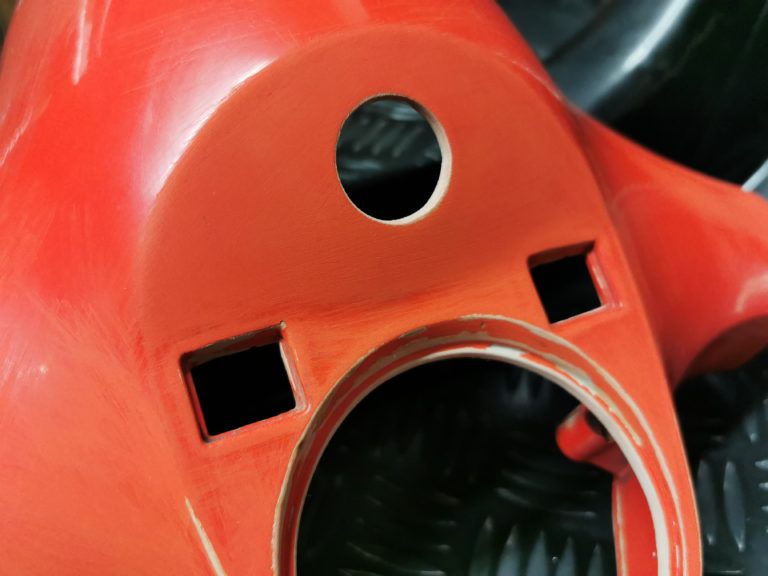
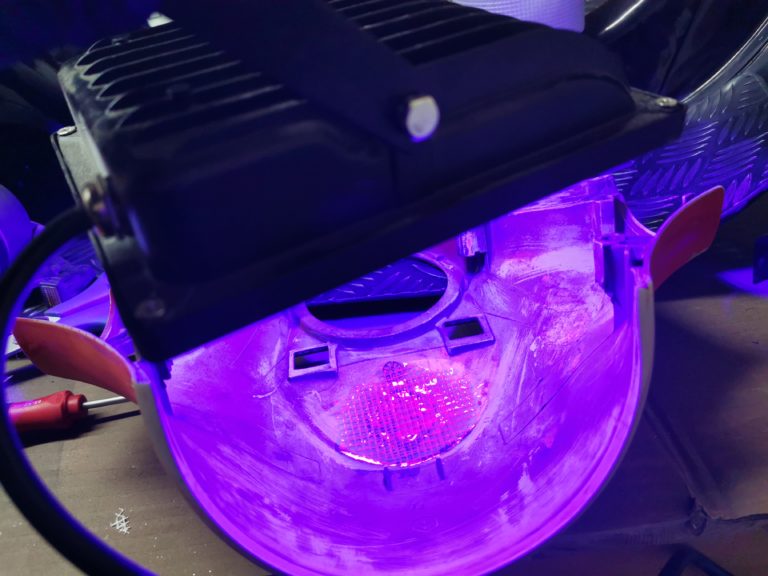
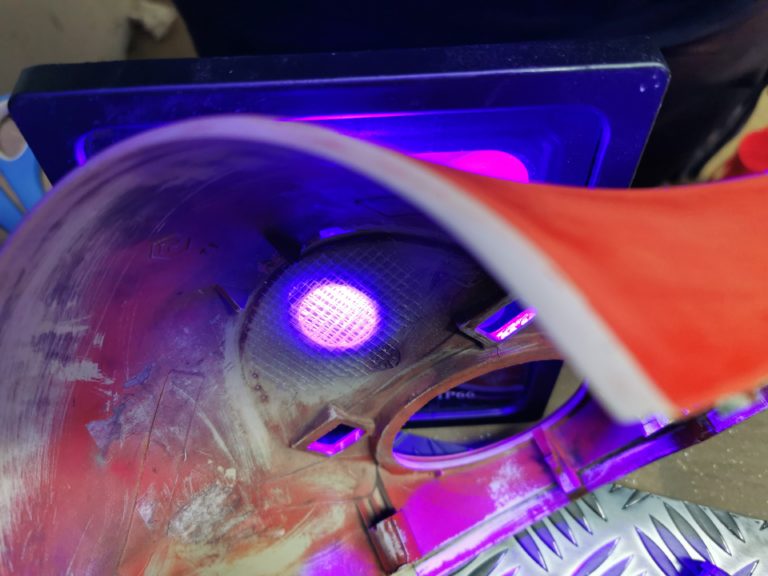
Unfortunately, two threaded sleeves are also broken out. Fortunately, I found parts and repair the brackets first with UV resin and fiberglass tape.
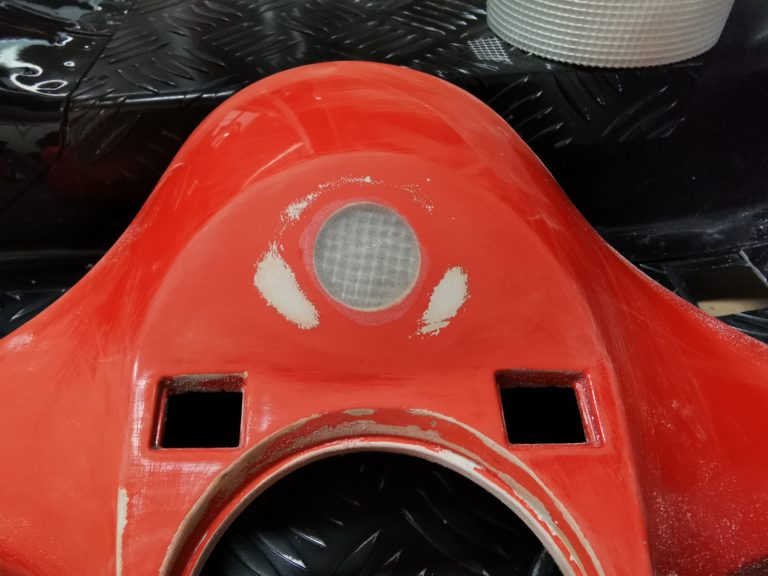
Close the hole
Previous
Next
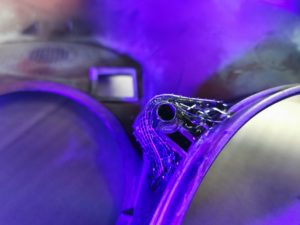
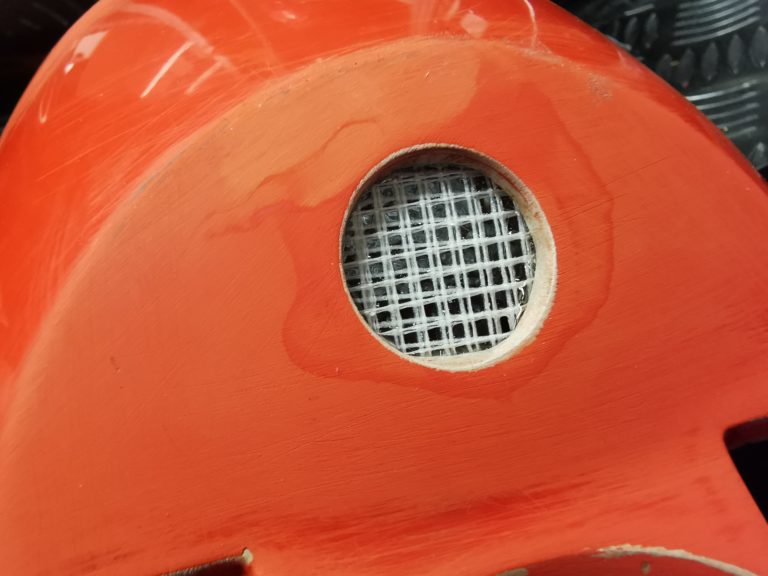
To close the hole for the ignition lock, some material has to be used. For this I am trying something new. For some time I have been experimenting with UV resin. The resin is transparent and hardens completely under UV radiation. The toughness can be additionally influenced by processing it under UV light. In combination with fiberglass tape I save a formwork for pouring. Due to the appropriate layer thickness and the glass fiber, I assume that I have created a solid solution.
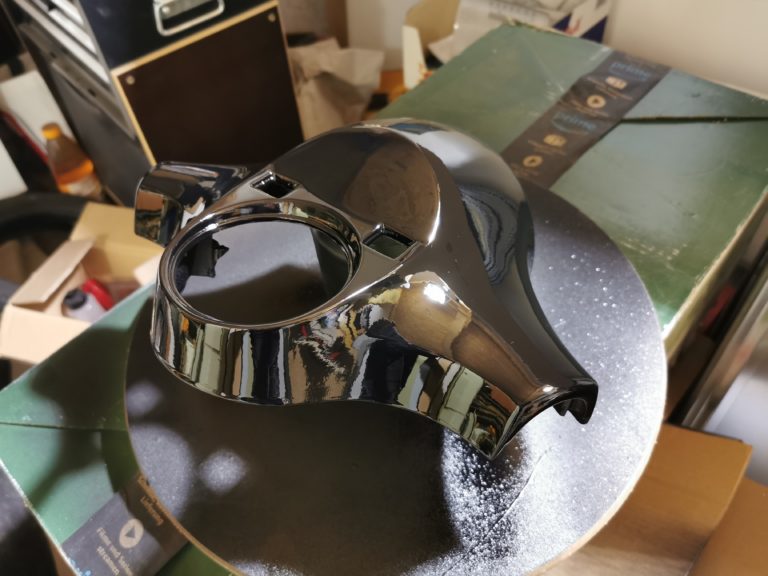
Paint
Previous
Next
First plastic primer and prepare the surface for painting. Then two coats of paint the next day. Then intermediate sanding, paint again and seal with 2-component clearcoat. I am satisfied with the result. It is the circumstances (without paint booth, etc.) turned out well.
I lack the experience here to paint plastic parts that should be scratch resistant and can withstand the weather. Whether that is the case, I will find out.